💡 이번 포스트에서는 styled-components와 react-router-dom의 NavLink를 활용해서 firestore의 documents들을 메뉴처럼 접근 할 수 있도록 하겠습니다.
이전 포스트를 참고 하시면 코드와 프로젝트에 대한 진행상황을 파악하시기 수월합니다.
[React.js + Firebase] react-router-dom 동적 라우팅 - 초간단 사진 게시판 만들기(3)
💡이번 포스트에서는 React에서 동적 라우팅을 사용하여 firebase의 데이터들을 원하는 url에 띄우는 방법을 알아 보도록 하겠습니다. 이전 포스트를 참고 하시면 코드와 프로젝트에 대한 진행상황
kmuhan-study.tistory.com
react-router-dom(v6)에서 NavLink를 사용하는 법은 다음과 같습니다.
<NavLink to="/path" />기본적으로 Link와 사용법이 동일하며, to 뒤에 절대 경로로 작성해서 페이지를 리다이렉션합니다. NavLink와 Link와의 차이점은 다음과 같습니다.
<NavLink to="/path" className={({ isActive, isPending }) =>
    isPending ? "pending" : isActive ? "active" : ""
} end >isActive라는 속성을 가지며(설정하지 않으면 기본적으로 active라는 classname을 가지고 css로 접근 가능), className 속성으로 활성화 상태에 따라서 컴포넌트를 다양하게 조절할 수 있습니다.
isPending이라는 속성을 가지며(설정하지 않으면 접근 불가능), className 속성으로 Transitions(로딩 화면 같은 개념입니다.)의 작동 상태에 따라서 컴포넌트를 조절 할 수 있습니다.
end는 to로 설정한 경로에 대해서 뒤에 파라미터가 추가로 붙으면, 정확하게 일치하지 않는 것으로 간주하고, isActive를 false로 처리합니다.
| Link | URL | isActive |
| <NavLink to="/tasks" /> | /tasks/123 | true |
| <NavLink to="/tasks" end /> | /tasks | true |
| <NavLink to="/tasks" end /> | /tasks/123 | false |
| <NavLink to="/tasks" /> | /tasks | true |
아래의 예시로 살펴보도록 하겠습니다.
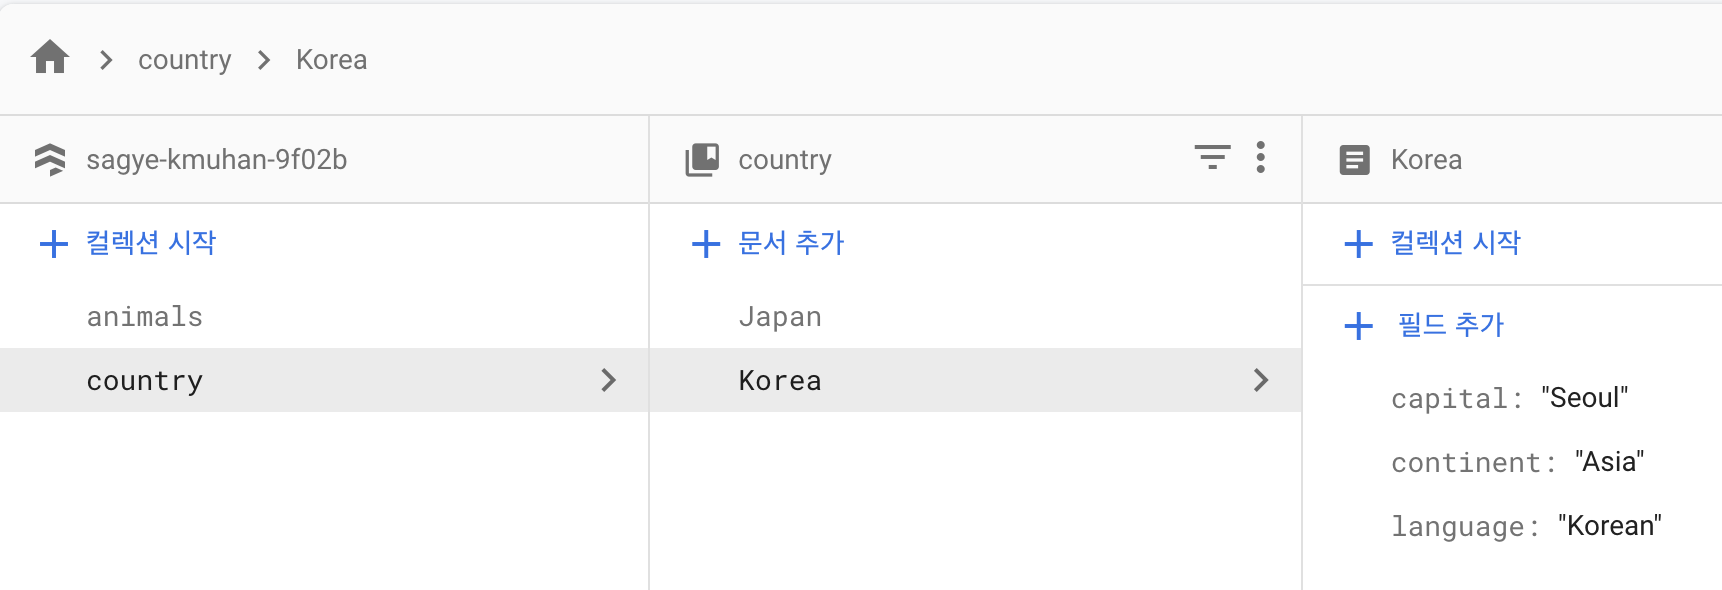
Firestore Database
Category.js
import { NavLink, useParams } from "react-router-dom"
import { db } from "../firebase"
import { collection, getDocs, query } from "firebase/firestore"
import { useEffect, useState } from "react"
import styled from 'styled-components'

const Wrapper = styled.div`
    height: 100vh;
    display: flex;
    flex-direction: column;
    align-items: center;
    justify-content: center;
`

const StyledNavLink = styled(NavLink)`
    margin: 10px;
    font-size: 30px;
    transition: 0.5s;

    &:hover {
        background-color: gray;
    }
`

function Category() {
    const { categoryId } = useParams()
    const [ categoryItems, setCategoryItems ] = useState()

    async function getDocuments(categoryId) {
        const categoryRef = query(collection(db, categoryId))
        const queryCategory = await getDocs(categoryRef)
        setCategoryItems(queryCategory.docs)
    }

    useEffect(() => {
        getDocuments(categoryId)
    }, [categoryId])

    return (
        <Wrapper>
            {categoryItems && categoryItems.map((doc) => (
                <StyledNavLink
                    to={`/${categoryId}/${doc.id}`}
                    key={doc.id}
                >
                    {doc.id}
                </StyledNavLink>
            ))}
        </Wrapper>
    )
}

export default CategoryStyledNavLink는 NavLink에 styled-components를 적용시킨 컴포넌트입니다.
현재 categoryId = country로 접속해 있을 때, Korea를 클릭하면 /country/Korea로 다이렉션됩니다.
<StyledNavLink to={`/${categoryId}/${doc.id}`} key={doc.id}>
	{doc.id}
</StyledNavLink>
key = {doc.id} 🔦 State에 저장된 데이터를 map을 사용해서 return 안에서 뿌려주었기 때문에, 매핑되는 StyledNavLink마다 고유한 key값을 지정해 주지 않으면, react에서 경고문을 받게 됩니다.
하지만 /country/Korea로 다이렉션 되어도 해당 path에 Route 설정을 해주지 않는다면 원하는 페이지를 띄울 수 없을 것이고, 실제 프로덕션 되는 환경에서는 404Error를 받게 되겠죠?
Router.js
const Country = React.lazy(() => import("./pages/Country"))
<Route path="/country/:id" element={<Country/>} />
Country.js
import { useParams } from "react-router-dom"
import { db } from "../firebase"
import { doc, getDoc } from "firebase/firestore"
import { useEffect, useState } from "react"
import styled from 'styled-components'

const Wrapper = styled.div`
    height: 100vh;
    display: flex;
    flex-direction: column;
    align-items: center;
    justify-content: center;
`
const Container = styled.div`
    display: flex;
    flex-direction: column;
`
const P = styled.p`
    font-size: ${props => props.fontSize || '20px'};
    margin: 10px;
`

function Country() {
    const { id } = useParams()
    const [ countryData, setCountryData ] = useState()

    async function getDocument(countryId) {
        const docRef = doc(db, "country", countryId)
        const docSnap = await getDoc(docRef)
        setCountryData(docSnap.data())
    }

    useEffect(() => {
        getDocument(id)
    }, [id])

    return (
        <Wrapper>
            {countryData !== undefined &&
            <Container>
                <P fontSize="30px">{id}</P>
                <P>Continet: {countryData.continent}</P>
                <P>Capital: {countryData.capital}</P>
                <P>Language: {countryData.language}</P>
            </Container>
            }
        </Wrapper>
    )
}

export default Country
Country.js 페이지를 추가 해 줍니다.
Animal.js 페이지도 Country.js와 동일한 구조로 추가 해 줍니다.
⏰ 주의 할 점
Country에 있는 속성들인 continent, capital, language를
Animal에 있는 속성들인 species, sexual, type으로 바꿔주고,
firestore에서 쿼리 해 올 때의 참조도, country에서 animals로 바꿔줍니다.
Animal.js
import { useParams } from "react-router-dom"
import { db } from "../firebase"
import { doc, getDoc } from "firebase/firestore"
import { useEffect, useState } from "react"
import styled from 'styled-components'

const Wrapper = styled.div`
    height: 100vh;
    display: flex;
    flex-direction: column;
    align-items: center;
    justify-content: center;
`
const Container = styled.div`
    display: flex;
    flex-direction: column;
`
const P = styled.p`
    font-size: ${props => props.fontSize || '20px'};
    margin: 10px;
`

function Animal() {
    const { id } = useParams()
    const [ countryData, setCountryData ] = useState()

    async function getDocument(countryId) {
        const docRef = doc(db, "animals", countryId)
        const docSnap = await getDoc(docRef)
        setCountryData(docSnap.data())
    }

    useEffect(() => {
        getDocument(id)
    }, [id])

    return (
        <Wrapper>
            {countryData !== undefined &&
            <Container>
                <P fontSize="30px">{id}</P>
                <P>Species: {countryData.species}</P>
                <P>Sexual: {countryData.sexual}</P>
                <P>Type: {countryData.type}</P>
            </Container>
            }
        </Wrapper>
    )
}

export default Animal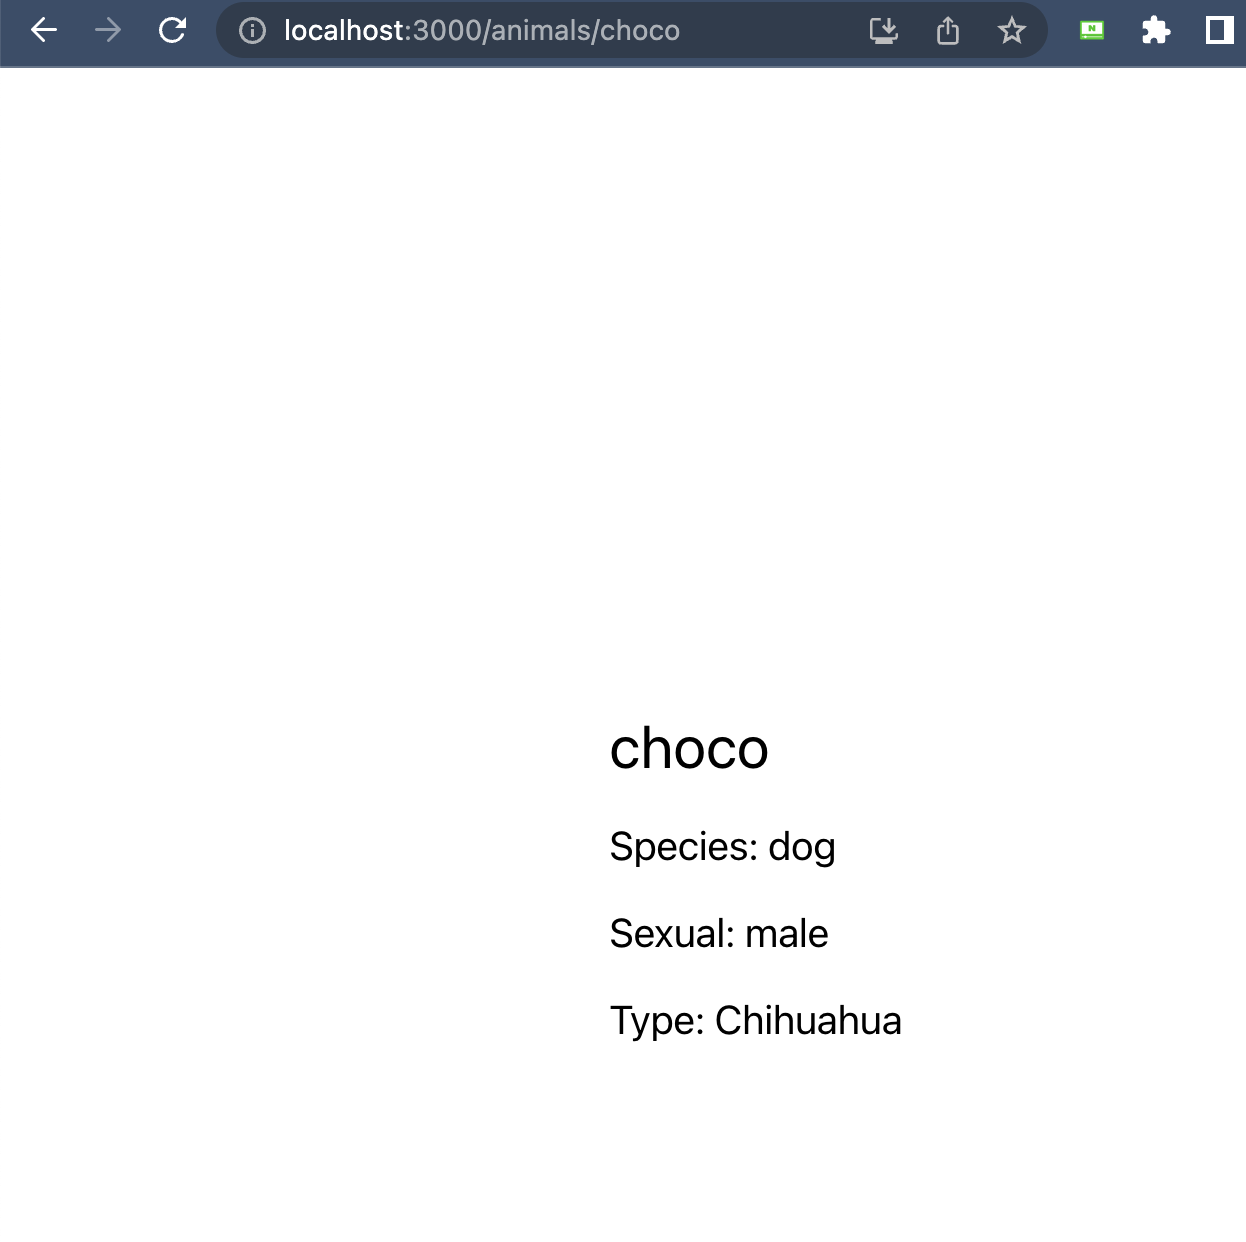
지금까지 게시판의 목록들에 링크를 걸어서 동적 라우팅으로 문서에 대한 페이지를 생성 해 보았습니다. 포스팅에서는 firebase storage를 활용하여 각 문서에 대한 사진들을 업로드 하고, 사진을 띄우는 방법을 알아 보겠습니다.